Showing posts with label tutorial. Show all posts

a birthday party and a little tutorial


We celebrated my baby"s toddler's birthday last month, and I have been meaning to post a little bit of the party, but the month got away from me, and now April is slipping away too, I wish time could just slow down a bit.
The week of O's birthday was a rather rough one for me, John left the day before Oscar's birthday for work and was gone that entire week. This was the first time he had been gone so long since Oscar had been born and we both O and I cried our eyes out as his truck backed out of our driveway, but we got thru it by keeping very busy and doing lots of snuggling at night until daddy returned home. I was also a little emotional because my little baby, was growing up into a walking, talking toddler and it is just going by too fast for my liking, I also was NOT looking forward to turning 31 that same week, but thank God for great friends and family who kept checking in with O and me, making sure that we were ok.  
We had planned on having a small birthday brunch the weekend after O's birthday so that his daddy would be home to celebrate with us, but at the last minute I decided that I needed to do something special on the actual day, whether daddy was there or not. So I invited a few people over to enjoy some cake and ice cream with us. It was such a nice time spent with family and friends reminiscing and laughing, and Oscar and I really enjoyed having the company over to keep our minds off of how we were missing daddy like crazy.


He eats his cake just like his mommy...with both hand and as much in the mouth as possible.


Oscar got some great books to read. We love books in this house, they are the perfect gift... you can never have too many, they don't take up much space...and one of the greatest things in this world is snuggling up with my little guy and reading book, after book, after book, after book, after.....

Like I mentioned this little cake and ice cream party was pretty last minute so I didn't have much time to prepare, but I knew I wanted to make some kind of cake for O's big day.

 I am sure you have seen the famous rainbow cake posted out on blog land. I created something similar last summer for an uncle's birthday party, and decided to do the same for Oscar's cake. While the rainbow cake is beautiful, and I am sure delicious, I don't have the time or energy to do THAT cake. So I improvised on mine a bit.....ok a lot....I used a box cake mix. 
I did the same thing last year for my uncle's birthday cake, but I made his the entire rainbow. For O's cake I stuck to 4 colors. This tutorial will do any version of the cake, and I have added some side notes for the full rainbow cake.


For this cake I used a box mix and a can of frosting. I am sure you could use any cake mix that you prefer, but you want to make sure it is white so that your colors will be vibrant.
As far as frosting; you can use pretty much any color or flavor, but my personal favorite is good ol' butter cream.
* I used two cans of frosting for this cake, one for the layers and one to cover the outside.
* you can also use two boxes of cake mix to make the layers of your cake thicker, if you plan on doing a full rainbow cake I recommend this, but for my 4 layer cake one box worked out just fine. (if you plan on making the full rainbow cake (6 layers), you may need an extra can of frosting too, as I had just enough to cover my 4 layer cake.)


Prepare your cake according to package instructions, and then divide up the batter into individual bowls, one for each color you will be doing. ex: if you are making the full rainbow cake you will need  6 different bowls. The original rainbow cake blog post suggested that you use a scale to evenly divide your cake batter, but I didn't do this. I simply used a measuring cup and put one scoop of batter into each bowl one at a time (like I was dealing a deck of cards out) then when I came to the end of my batter I eye-balled the rest to even it out. I haven't had a problem doing it this way, but if you would like to make sure that all of your layers are exactly the same thickness, follow her instructions for dividing up the batter.


Once I had my batter divided up into individual bowls I used gel food coloring to get the colors I was looking for. I used the table cloth as a guide to my colors. I wish I wrote down exactly how many drops of each color I used for each color, but I didn't, I just kept adding until it looked right.
To get the blues more "vintage looking" (less bright) I added a small bit of red to the color.
To tone down the red, I added a bit of blue, and to mute the yellow down a little I added drops of blue and green.
If you are trying to get the same look with your colors, my advice is to take it slow. Mix the main color first, after you get the intensity of the color you are after, add very small drops of the other colors to tone it down, mixing after each drop of color. You would be surprised how quickly you can go from a vivid blue to icky brown if you add too many drops of red.


After all my colors were mixed,
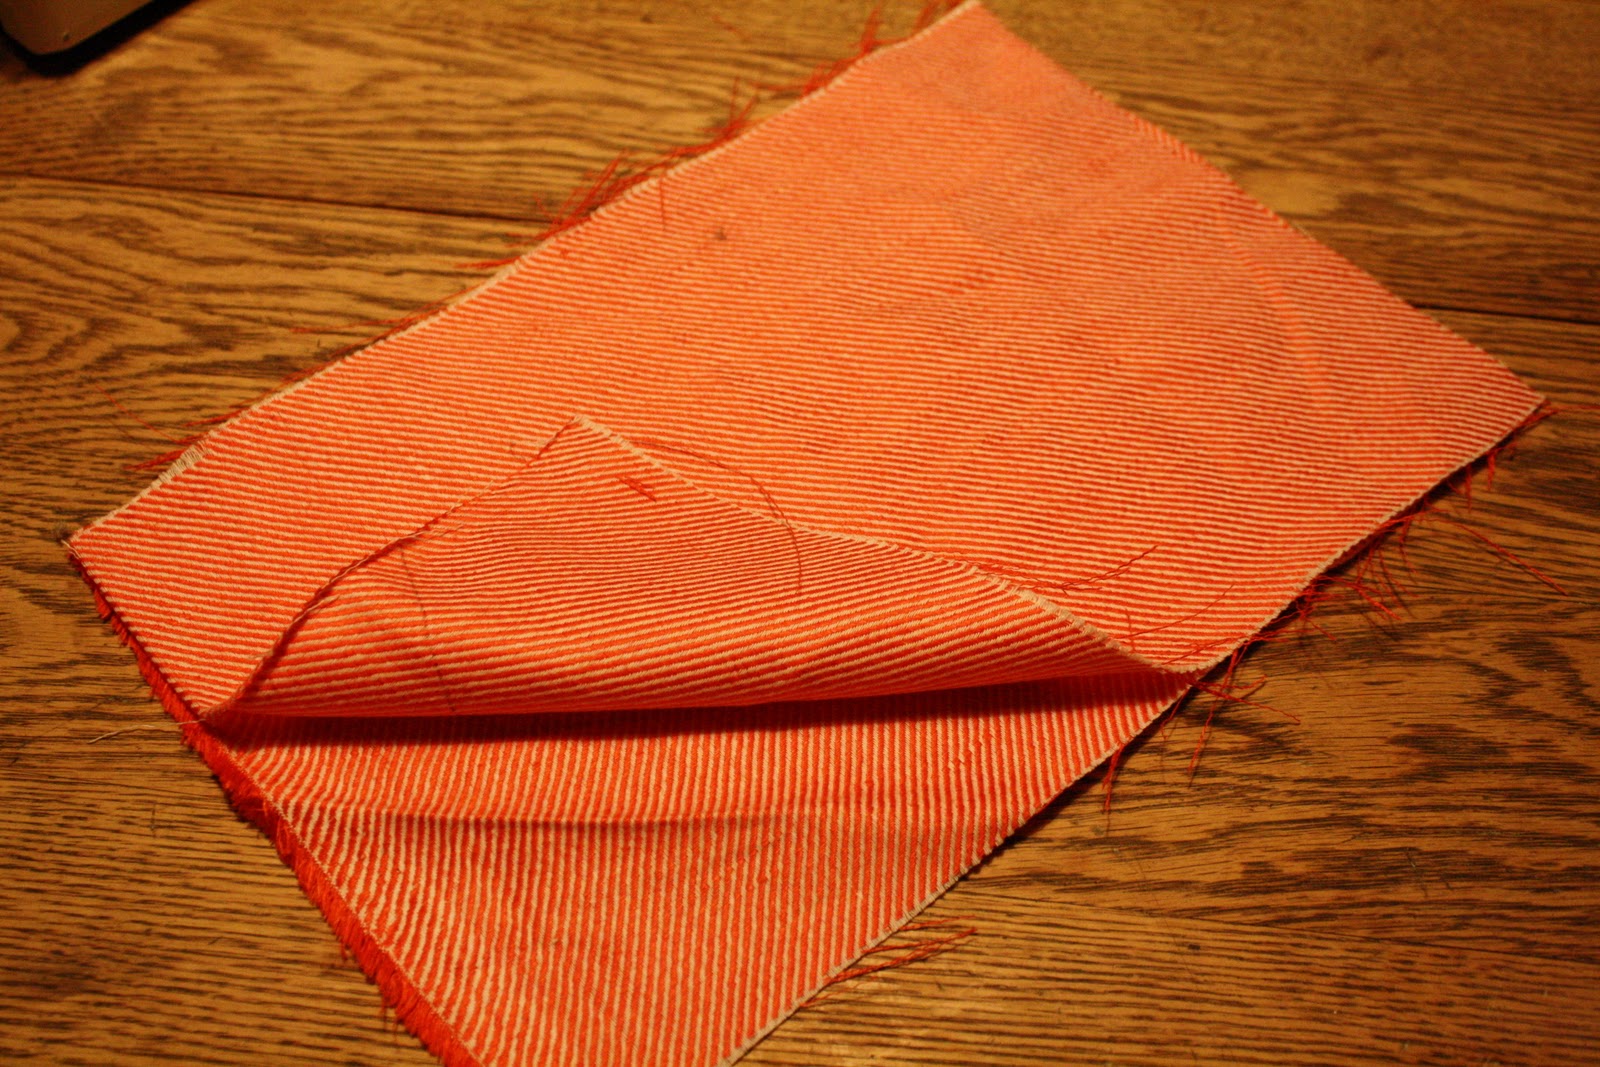
I lined the bottom of round cake pans with parchment paper and made sure that the sides were greased so that I could easily get my layers out when they were done baking.

Then poured my colored batter into the cake pan (one pan for each color), then placed all 4 of my pans in the oven to bake. I used the box instructions for baking temp and time, but watched them very closely. The lighter colors were very close to the baking instructions on the box, but I did take the darker blue and red out a few minutes early since they baked up faster. Just use the instructions as a guide, and stay close by the kitchen during baking time, every one's oven is different, and depending on how thick your layers are or how dark your colors are, the baking times will vary.

When your layers are all done baking, you will need to let them cool before assembling your cake. I like to use a cookie sheets flipped upside down with a sheet of parchment paper on top for my cooling rack because I never have enough room and it works really well for me to move the layers around with out breaking them this way.


Line your cake plate with 3 to 4 pieces of parchment paper so that they are covering the plate itself, but are easily removed once you are done decorating the cake. (I like to use 3 strips of parchment paper about 2 to 4 inches wide and I lay them across the outer side of the cake plate, leaving a large triangle where the cake will go)
Lay your first layer down on the cake plate and add a thin layer of frosting across the top.
You can really go easy on the frosting here, just a little to act as a glue for the next layer, too much frosting and your layers will slide off each other.
Continue doing this layer by layer, once I have the inside of my cake assembled, I like to add a thin layer of frosting all over the outside of my cake.  At this point all my frosting is soft and more likely to move around, so I then place it in the fridge for a few hours to "set a little".


When my cake frosting has "set" and is easier to work with, I simply add more frosting to the outside working from the top of the cake to the sides until it is evenly covered.
Add any type of sprinkles, jimmies or candies to the outside that you would like, or just leave it plain, what ever your little heart desires.
I personally like to use sugar sprinkles on my cake. I love the little crunchy bites they give to a very smooth cake, and everyone at the party must of agreed because there was not a crumb left on any one's plate.

I had a entire file saved up of birthday ideas for Oscar's first birthday, but didn't do any of them. I wanted to have a big party, have favor bags, send out great invitations and make a big deal out of the whole thing, but I am so happy that those plans didn't work out and instead we had a laid back simple party. I was under no stress and was able just to sit back and soak in the entire day. When Oscar is older, I will be able to tell him exactly what we did on his first birthday and who was all there.

When John got back we had the Grandparents over for breakfast and lunch but I was too busy enjoying the day with my husband, family and Oscar that I completely forgot to take pictures. Sorry.


A Lovely Project


{* note: I set up this post to publish yesterday, but I must of done something wrong because it never showed up. So here it is...a day late, oh well. I am working on my blogs from my 30 for 30 from this weekend, and Valentine's Day but my blogger is not letting me upload photos for some reason so they may not get up today, we will see.}

This is a little project Oscar and I did for our loves for Valentines Day. I laid out a piece off fabric in front of Oscar and put a few globs of red and white paint on it and let him go to town rubbing it all around. When the fabric dried, I cut out rectangles big enough to hold a gift card and backed it with interfacing and a contrasting fabric. Sewed them together, wrote a little message inside, added some snaps and filled it with a gift card.


Later, these pouches can be used as a coin purse, jewelry pouch, or small card holder.

Happy Valentine's Day.

Bow-Tie Pillow Tutorial

This pillow came about because I was making a bow-tie for Oscar, and decided that it would look pretty cute on a pillow too.
2 yards will be plenty of fabric for a 18 inch pillow.
You will need to cut...
2 pieces that measure 19 inches x 19 inches (this will allow a 1/2 inseam on all sides of your pillow)
1 piece that measures 6 inches x 32 inches (this will be the band that goes around the pillow)
1 piece that measures 2 1/2 inches x 4 inches (this will be the middle of your bow)
2 pieces that measure 10 inches x 6 inches (these will be your bow)


Starting with your pillow (the two 19 x 19 inch pieces) pin them together right sides facing each other.


Sew these pieces together using 1/2 inch inseam. Remember to leave an opening at one end so that you can turn it right side out and stuff it. Zig-zag your seams. Turn your pillow right side out and fill it with stuffing. Hand sew your opening together.


Next take your long piece 6 x 32 inch.


Fold it in-half length wise.


Sew together leaving the ends open.


Zig-zag your seams and turn right side out.


Press your long piece with the seam running down the back of the fabric.


Next we will be making the bow. Take your two 10 x 6 inch pieces and lay them on top of each other, right sides facing each other. Sew together just like the pillow with an small opening for turning right side out.  


I DIDN'T use a 1/2 inch inseam on the bow however. I just used my sewing foot as my guide.


Turn your bow right side out and hand stitch the opening closed.


Next take your small piece (2 1/2 x 4 inches) and fold lengthwise. Sew it together lengthwise leaving both ends open. Flip it right side out. You are doing the exact same thing to this piece as you did for the longer piece (the band around the pillow). Press this piece with an iron with the seam running down the back of the fabric so that it is not seen from the front.


Next, fold the piece in half so that the seam is on the outside and sew the ends together.


Flip it around so that the seam is on the inside of the ring you just created and slip it onto the long band that we started earlier.


Sew the band together the same way. I double stitched the band so that it was stronger because it is going to be very snug on the pillow and will be under some stress.

Now slip it onto your pillow so that it fits snugly around the pillow.


Slip your bow thru the middle of the ring, and fluff out the sides until you like the shape.


Using a needle and thread, do a few stitches on each corner of the bow and right in the middle to hold it in place.


I am really loving my pillow collection happening on my couch, I wonder how many more I can sneak on there before John says enough is enough.


Freezer paper stencil on pillow tutorial

I have had a few questions about some of the pillows on my couch, so I thought I would share some tips with you on how to make some fun pillows for your own house. My goal was to do a whole month of pillows and feature one each week, I am going to try to stick to my plan, but I am already struggling getting getting the first one up. First I had major issues with my sewing machine, and then my printer started acting up. Neither of the two are fixed, but I borrowed a sewing machine from my mom, and I just used the printer the way it was... I will look at it later. (You will see in my the following pictures the problems I had with my printer.) Anyway.... here is the first pillow of the month. I wanted to do this one first because I think this would make a awesome Christmas gift for Grandparents. Here we go...

You will  need the following supplies.
  • freezer paper (can be found at most grocery stores)
  • paint brush
  • something to cut your stencil out with, scissors will work fine, but I prefer to use a x-acto knife to make the intricate cuts.
  • marker
  • printer
  • a photo of your subject
  • fabric
  • sewing machine
  • needle and thread


1) Choose your picture. I snapped this picture of Oscar the other morning, if you have a more willing participant have them stand to the side so that you have the shape of their shoulder's to work with as well.


2) As you can see my printer didn't want to print any magenta, but that was ok for this project. You can outline your object that you want to cut out in black permanent marker to see it better, but this step is not necessary if you can see it ok under your freezer paper. (Like I said earlier, I had to work with what Oscar was giving me that morning, so I had to improvise with the shoulder placement. If I was able to capture a photo of him from the side I would trace his shoulder's and chest as well, but I just drew them in for this project.)


3) Lay a piece of freezer paper SHINY SIDE DOWN on top of your stencil and cut it out.


4) Your should have two pieces at this point.


5) Lay your freezer paper SHINY SIDE DOWN onto your piece of fabric where you would like the image to appear. Iron directly on top of the paper. The heat from the iron will adhere the freezer paper to your fabric creating a stencil to work with.


6) Paint directly on top of the fabric and freezer paper, I like to work my way in from the stencil so that I don't pull up any of my edges.


7) While the paint is still damp, carefully pull back the freezer paper starting at one corner.


8) Once your paint has completely dried, turn your pieces together so that the right sides are facing each other. Sew your pillow together leaving a small opening at the bottom to stuff your pillow.


9) Turn your pillow right side out


10) Add your batting to your pillow, and hand stitch the hole closed.


I made one for myself that matched our living room, and I also made one for my mom on plain white duck cloth.


I also added a little tag along side of each pillow with Oscar's name and the year.


My plan is to do one of these for John and myself as well, and continue to do one each year so we can see how much we have changed.
I really think this is such a nice gift for grandparents, gather all the grandkids together and get a profile shot. If you have older grandkids, they would probably love to get in on the action too and help paint their own pillow. A bunch of these on the couch with each grandkids silhouette would be lovely.

I am already working on my pillow for next week, so stay tuned...

Coffee Sleeve Tutorial

I think these coffee cup sleeves are a cute gift for teachers, co-workers, your favorite mail carrier, babysitter, friends, sisters, mothers... the list goes on and on.
They are very easy to make too.

The supplies you will need are...
  • a coffee cup with a sleeve
  • scissors
  • pen or marker
  • a glue gun and glue sticks
  • piece of felt
  • any other fabric scraps, ribbons, buttons, anything that you would like to use to personalize it.


1) Remove the original coffee sleeve from the cup and carefully pull it apart. Lay it out flat on your piece of felt.


2) Trace around the coffee sleeve.


3) Cut out your new coffee sleeve from the felt.


4) Fold it in, and over lap the end pieces. You can use your original coffee sleeve as a guide to see how much you should over lap.


5) Pull back the top flap.


6) Apply a line of hot glue from your glue gun.


7) Lay the flap back down and let the glue cool.


8) Pull up the top flap so that the bottom of the inside flap is exposed.


9) Apply a dot of hot glue. Allow to cool.

10) Decorate, and give with a favorite coffee drink. 

You can use anything you would like to decorate your coffee sleeve. Make it special to the person you are giving it to. Encourage them to carry it in their car or purse so that they can save a little bit of paper when they order their next coffee to go.


This is the one that I did. I delivered two of these with hot lattes to two special girls on Thanksgiving morning to let them know I was thinking of them that day.

If you don't feel like making them, and live in southern Minnesota, swing by Sticks and Stones.... I have been busy making 500 of these babies to be handed until Christmas...or until supplies last.

I haven't decided if I am going to put some in my shop yet, but I have been taking a few orders for them, so if you have no desire to make them but would like some to hand out to your favorite people contact me, I would be happy to see if I can accommodate your order.