Bow-Tie Pillow Tutorial

This pillow came about because I was making a bow-tie for Oscar, and decided that it would look pretty cute on a pillow too.
2 yards will be plenty of fabric for a 18 inch pillow.
You will need to cut...
2 pieces that measure 19 inches x 19 inches (this will allow a 1/2 inseam on all sides of your pillow)
1 piece that measures 6 inches x 32 inches (this will be the band that goes around the pillow)
1 piece that measures 2 1/2 inches x 4 inches (this will be the middle of your bow)
2 pieces that measure 10 inches x 6 inches (these will be your bow)


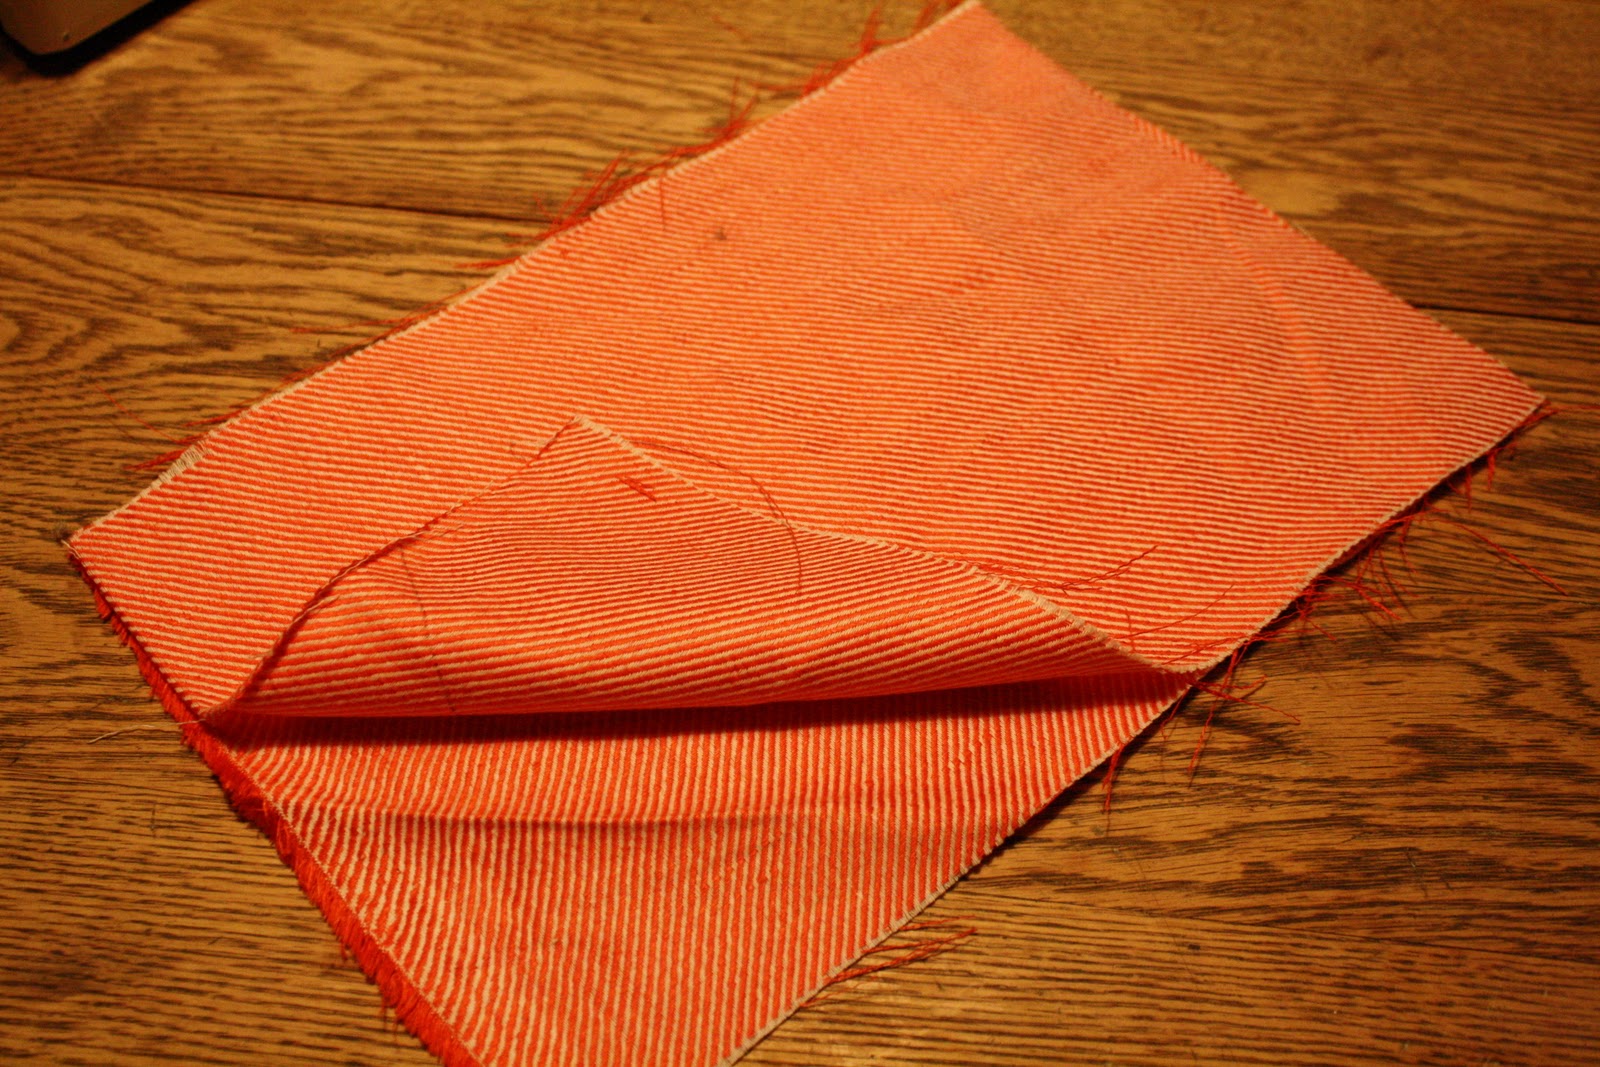
Starting with your pillow (the two 19 x 19 inch pieces) pin them together right sides facing each other.


Sew these pieces together using 1/2 inch inseam. Remember to leave an opening at one end so that you can turn it right side out and stuff it. Zig-zag your seams. Turn your pillow right side out and fill it with stuffing. Hand sew your opening together.


Next take your long piece 6 x 32 inch.


Fold it in-half length wise.


Sew together leaving the ends open.


Zig-zag your seams and turn right side out.


Press your long piece with the seam running down the back of the fabric.


Next we will be making the bow. Take your two 10 x 6 inch pieces and lay them on top of each other, right sides facing each other. Sew together just like the pillow with an small opening for turning right side out.  


I DIDN'T use a 1/2 inch inseam on the bow however. I just used my sewing foot as my guide.


Turn your bow right side out and hand stitch the opening closed.


Next take your small piece (2 1/2 x 4 inches) and fold lengthwise. Sew it together lengthwise leaving both ends open. Flip it right side out. You are doing the exact same thing to this piece as you did for the longer piece (the band around the pillow). Press this piece with an iron with the seam running down the back of the fabric so that it is not seen from the front.


Next, fold the piece in half so that the seam is on the outside and sew the ends together.


Flip it around so that the seam is on the inside of the ring you just created and slip it onto the long band that we started earlier.


Sew the band together the same way. I double stitched the band so that it was stronger because it is going to be very snug on the pillow and will be under some stress.

Now slip it onto your pillow so that it fits snugly around the pillow.


Slip your bow thru the middle of the ring, and fluff out the sides until you like the shape.


Using a needle and thread, do a few stitches on each corner of the bow and right in the middle to hold it in place.


I am really loving my pillow collection happening on my couch, I wonder how many more I can sneak on there before John says enough is enough.


My Helper

I am going to be posting a pillow tutorial tomorrow, but I had to share some pictures of my adorable little helper. These pictures were all taken in a span of about 10 seconds.
Every time I lay a piece of material out on the floor, Oscar is drawn to it immediately, and can't help but crawl all over it, messing it all up. It does make it very hard to cut out a pattern, but he is having a blast so who really cares?


The Christmas Story


Oh I just LOVE this! Sometimes as adults we get so busy shopping for presents, decorating the house, baking goodies that we forget the real meaning of Christmas. Well, these children do a wonderful job of bringing you back to the Christmas story, and the reason we celebrate.

Freezer paper stencil on pillow tutorial

I have had a few questions about some of the pillows on my couch, so I thought I would share some tips with you on how to make some fun pillows for your own house. My goal was to do a whole month of pillows and feature one each week, I am going to try to stick to my plan, but I am already struggling getting getting the first one up. First I had major issues with my sewing machine, and then my printer started acting up. Neither of the two are fixed, but I borrowed a sewing machine from my mom, and I just used the printer the way it was... I will look at it later. (You will see in my the following pictures the problems I had with my printer.) Anyway.... here is the first pillow of the month. I wanted to do this one first because I think this would make a awesome Christmas gift for Grandparents. Here we go...

You will  need the following supplies.
  • freezer paper (can be found at most grocery stores)
  • paint brush
  • something to cut your stencil out with, scissors will work fine, but I prefer to use a x-acto knife to make the intricate cuts.
  • marker
  • printer
  • a photo of your subject
  • fabric
  • sewing machine
  • needle and thread


1) Choose your picture. I snapped this picture of Oscar the other morning, if you have a more willing participant have them stand to the side so that you have the shape of their shoulder's to work with as well.


2) As you can see my printer didn't want to print any magenta, but that was ok for this project. You can outline your object that you want to cut out in black permanent marker to see it better, but this step is not necessary if you can see it ok under your freezer paper. (Like I said earlier, I had to work with what Oscar was giving me that morning, so I had to improvise with the shoulder placement. If I was able to capture a photo of him from the side I would trace his shoulder's and chest as well, but I just drew them in for this project.)


3) Lay a piece of freezer paper SHINY SIDE DOWN on top of your stencil and cut it out.


4) Your should have two pieces at this point.


5) Lay your freezer paper SHINY SIDE DOWN onto your piece of fabric where you would like the image to appear. Iron directly on top of the paper. The heat from the iron will adhere the freezer paper to your fabric creating a stencil to work with.


6) Paint directly on top of the fabric and freezer paper, I like to work my way in from the stencil so that I don't pull up any of my edges.


7) While the paint is still damp, carefully pull back the freezer paper starting at one corner.


8) Once your paint has completely dried, turn your pieces together so that the right sides are facing each other. Sew your pillow together leaving a small opening at the bottom to stuff your pillow.


9) Turn your pillow right side out


10) Add your batting to your pillow, and hand stitch the hole closed.


I made one for myself that matched our living room, and I also made one for my mom on plain white duck cloth.


I also added a little tag along side of each pillow with Oscar's name and the year.


My plan is to do one of these for John and myself as well, and continue to do one each year so we can see how much we have changed.
I really think this is such a nice gift for grandparents, gather all the grandkids together and get a profile shot. If you have older grandkids, they would probably love to get in on the action too and help paint their own pillow. A bunch of these on the couch with each grandkids silhouette would be lovely.

I am already working on my pillow for next week, so stay tuned...

Coffee Sleeve Tutorial

I think these coffee cup sleeves are a cute gift for teachers, co-workers, your favorite mail carrier, babysitter, friends, sisters, mothers... the list goes on and on.
They are very easy to make too.

The supplies you will need are...
  • a coffee cup with a sleeve
  • scissors
  • pen or marker
  • a glue gun and glue sticks
  • piece of felt
  • any other fabric scraps, ribbons, buttons, anything that you would like to use to personalize it.


1) Remove the original coffee sleeve from the cup and carefully pull it apart. Lay it out flat on your piece of felt.


2) Trace around the coffee sleeve.


3) Cut out your new coffee sleeve from the felt.


4) Fold it in, and over lap the end pieces. You can use your original coffee sleeve as a guide to see how much you should over lap.


5) Pull back the top flap.


6) Apply a line of hot glue from your glue gun.


7) Lay the flap back down and let the glue cool.


8) Pull up the top flap so that the bottom of the inside flap is exposed.


9) Apply a dot of hot glue. Allow to cool.

10) Decorate, and give with a favorite coffee drink. 

You can use anything you would like to decorate your coffee sleeve. Make it special to the person you are giving it to. Encourage them to carry it in their car or purse so that they can save a little bit of paper when they order their next coffee to go.


This is the one that I did. I delivered two of these with hot lattes to two special girls on Thanksgiving morning to let them know I was thinking of them that day.

If you don't feel like making them, and live in southern Minnesota, swing by Sticks and Stones.... I have been busy making 500 of these babies to be handed until Christmas...or until supplies last.

I haven't decided if I am going to put some in my shop yet, but I have been taking a few orders for them, so if you have no desire to make them but would like some to hand out to your favorite people contact me, I would be happy to see if I can accommodate your order.


Christmas Garland Tutorial

This is the Christmas garland I have been making for a store display, and I thought it would make a nice tutorial. I am using polar fleece because I like that it doesn't fray, and it is the perfect material for winter. However, I think this garland would work well with other fabrics. I can see it in a ticking stripe for a more homespun look. Or some bright twill, heck, a pretty sheer fabric could be beautiful as well. Go ahead and experiment with different looks.


Materials needed
  1. Felt or any other type of material that you would like to try
  2. Straight edge
  3. Scissors
  4. Sewing machine
  5. Thread in matching color
First lay out your material and use your straight edge to make your marks for cutting


Next, cut your pieces out.


If you want a longer garland, sew two of the strips (or more) together to make one long strip of fabric. You will ultimately want 4 pieces the same length for your garland.


Gather your pieces together, and lay them on top of each other. If you are using more than one color, alternate colors.


Continue sewing straight down the center of your strips. Remember to back stitch at the beginning and the end.


After you have your 4 pieces sewn together, make many cuts towards the center of your garland. Be sure not to cut into your stitches. Do this for both sides.


Hang throughout your house, on your tree, back of chairs, over mirrors, windows, etc.

 I can see this garland in many different colors. I am loving the mustard yellow and pink combo I did. But you can be more traditional and use red and green or red and white. OR... let your imagination go wild and think out side the box of traditional colors for Christmas this year. We are at our house.

The beauty of this garland is that it doesn't have to be perfect. None of my lines were perfectly straight, and my cuts were all different widths, but when you are all done it looks great.

I have another fun tutorial coming up soon for some home-made christmas gifts, so check back.